Cabbage Steaks: Roasting at it's Finest

Processed with VSCOcam with f2 preset

Cabbage Steaks: Roasting at it's Finest

In my (Emily, here) CSA basket, there have been these gorgeous heads of cabbage that I've had absolutely no no no idea how to cook. Of course I have ideas, but I didn't want the commitment of making sauerkraut or doing something boring and simple like shredding it up. I also knew I could use the leaves in place of tortillas for a wrap, but I ran out of those sammy fixins. There I was, thinking, 'hmm, I have to use them. Can't leave a veggie out -- that's just plain rude.' So that's what started this recipe. It's simple (5 ingredients!) and definitely yummy delicious.

Why do we love this recipe? Not only is it simple to throw together with major taste factor, the ingredients pack a major nutritional punch. Cabbage is low in fat and high in fiber, aka filling. It's full of vitamin K and anthocyanins which both help mental function and concentration; think helping out with nerve damage, strengthening your defense against Alzheimer’s disease, and dementia. Cabbage can help dry out oily skin and fight acne thanks to the sulfur which also draws out toxins like uric acid and free radicals (the main causes behind arthritis, skin diseases, and rheumatism). Amongst a whole host of others, it's an anti-inflammatory and blood sugar regulator. Wow! Talk about packing a punch!

We love our olive oil for it's resveratrol, aka the antioxidants that help with healthy hearts, no wrinkles, and keep us on this divine earth for a long while. Pink Himalayan salt has been known to stabilize ph levels, blood sugar, and water levels in the body; detoxify your system; and promote good respiratory and vascular health. Garlic contributes magnesium, vitamin B6, and vitamin C, can improve cholesterol levels, boost our immunity (hello, cold remedy), and helps the body detox the organs of heavy metals. Can't say this recipe is anything short of amazing. Five minutes to throw together, 40 minutes in the oven, and you can get all of those benefits? I'm not gonna pass it up. You? Find the recipe below!

Ingredients & Instructions

+ 1 Head Cabbage

+ Olive Oil

+ 3 Cloves of Garlic

+ Pink Himalayan salt (regular salt works, too)

+ Black Pepper


  1. Preset the oven to 375 degrees Fahrenheit.
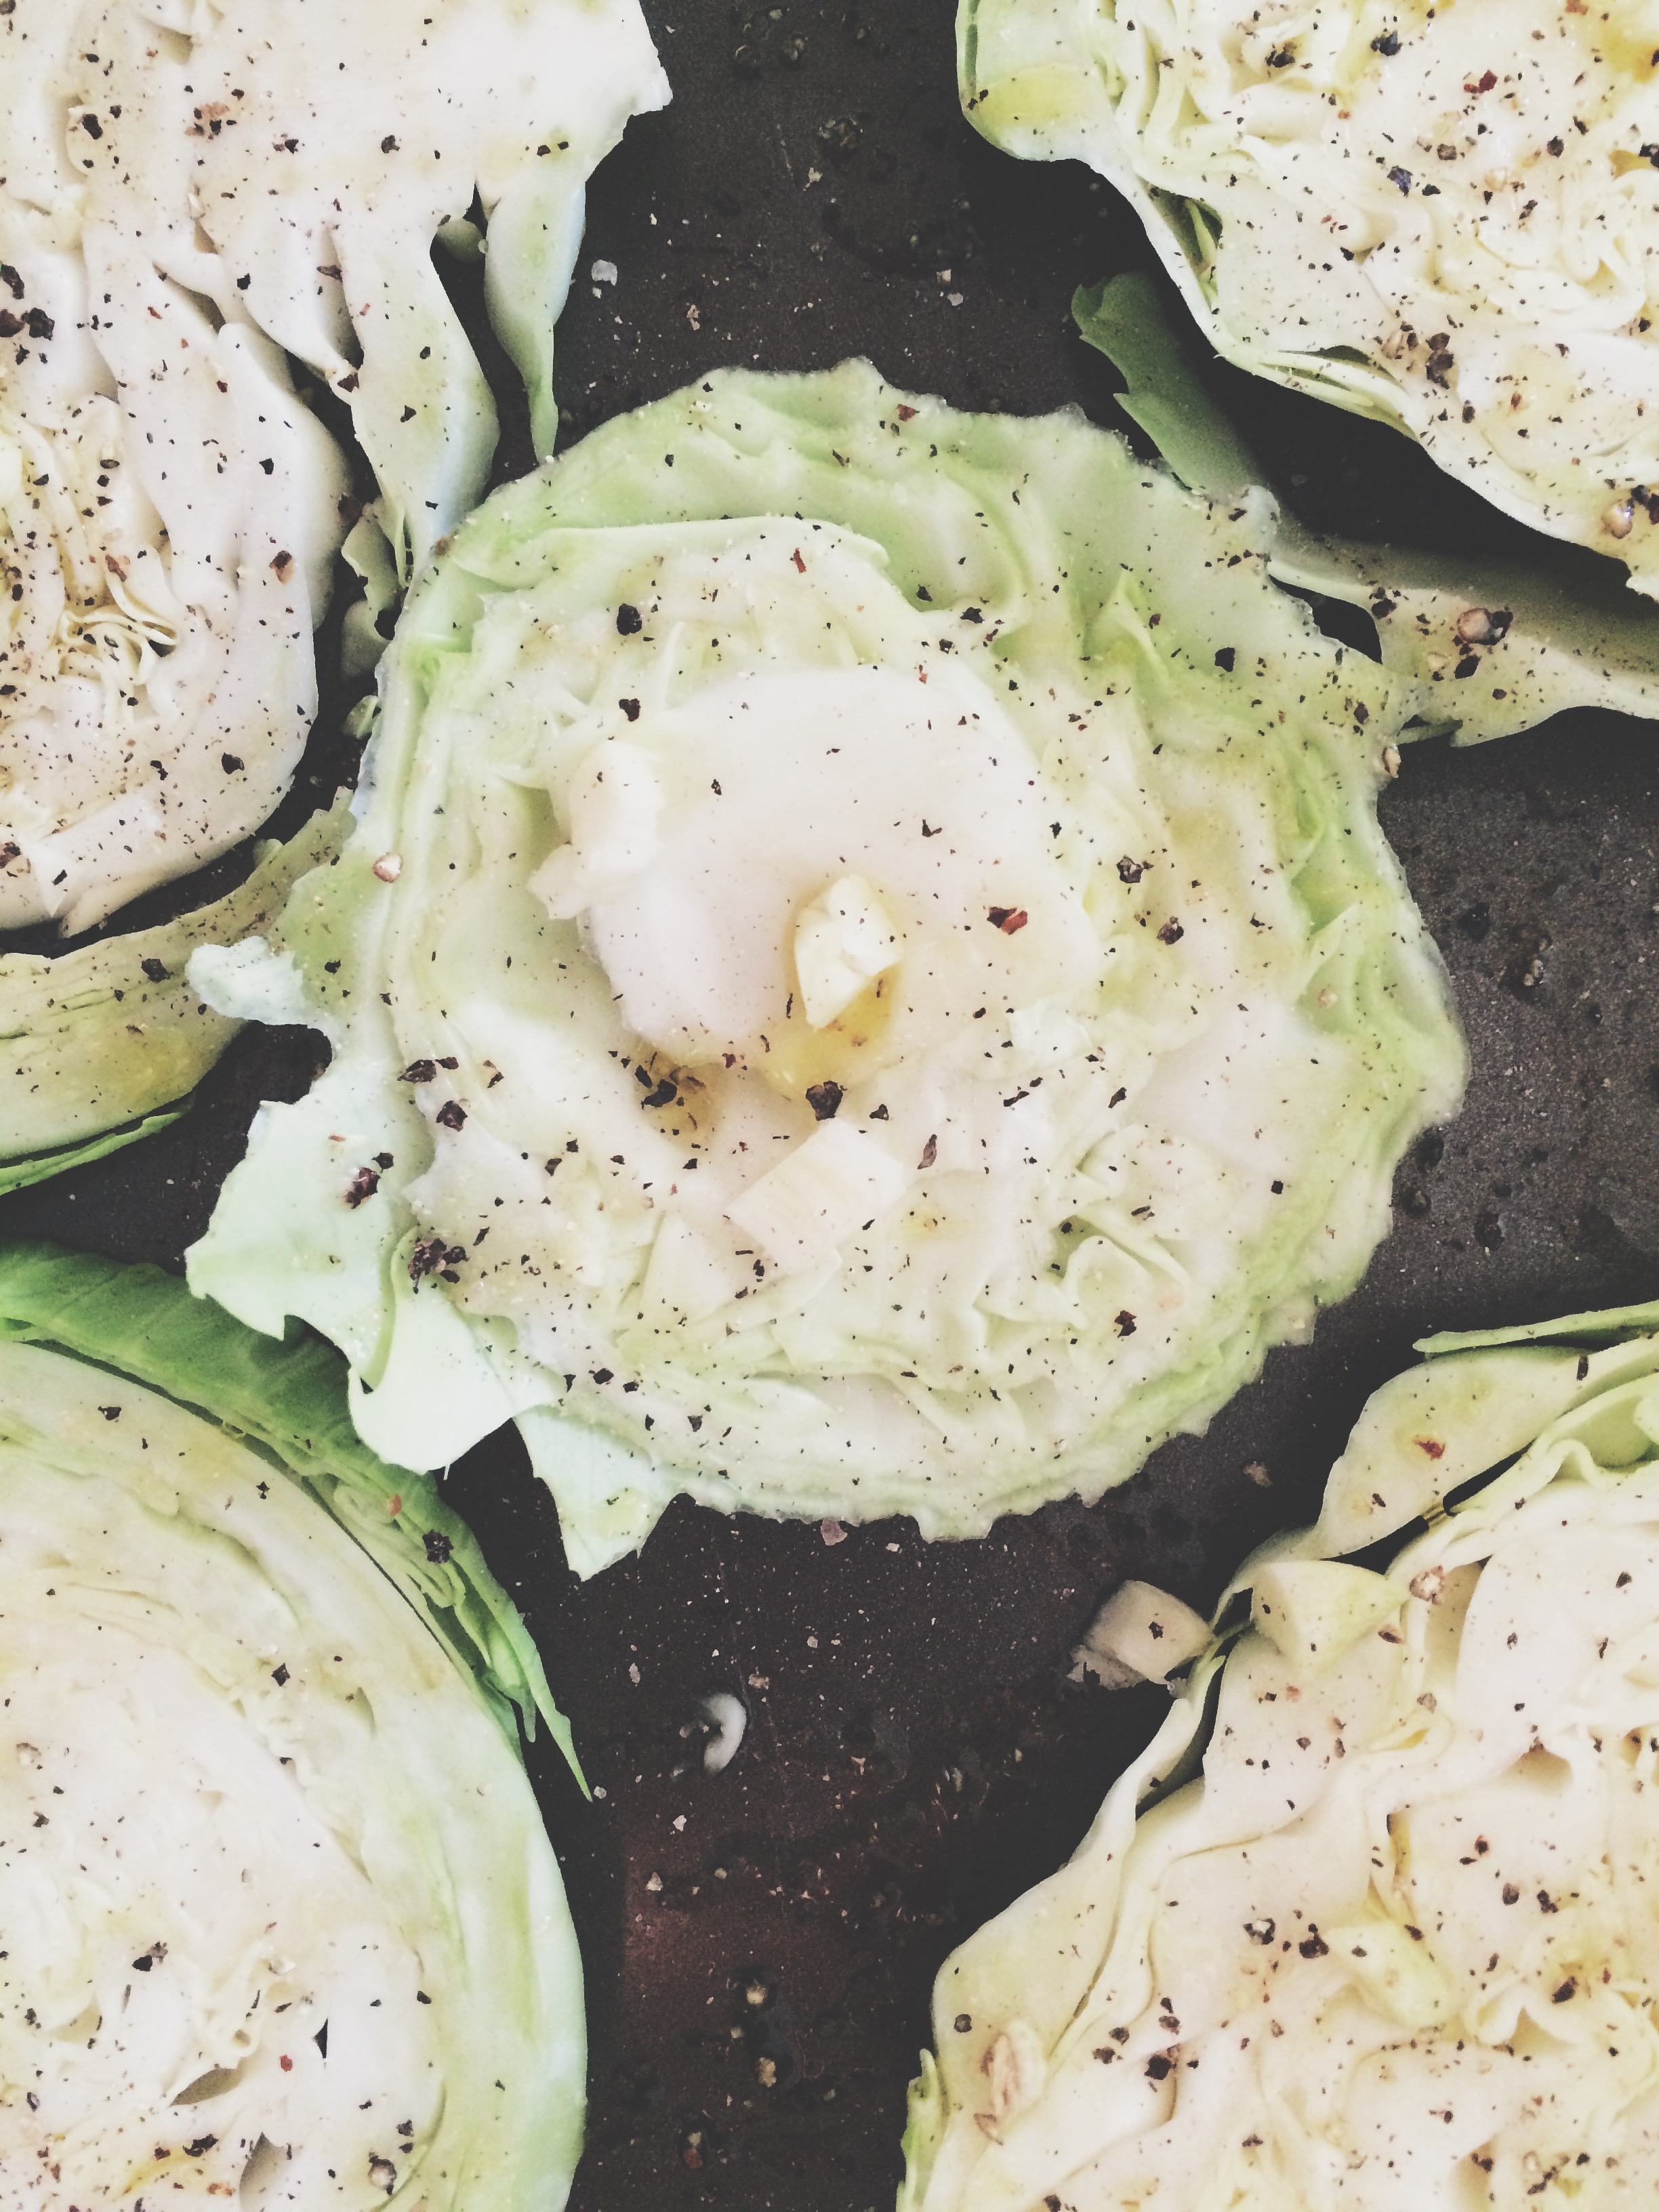
  2. Take the head of cabbage and slice from top to bottom (part where the leaves meet down to the flatter part/stem) in one inch widths.
  3. Place the sliced rounds on a baking sheet.
  4. Drizzle the slices with olive oil.
  5. Chop up the garlic cloves. Sprinkle on top of cabbage rounds.
  6. Rub the garlic and olive oil into the cabbage (like one might with a marinade rub).
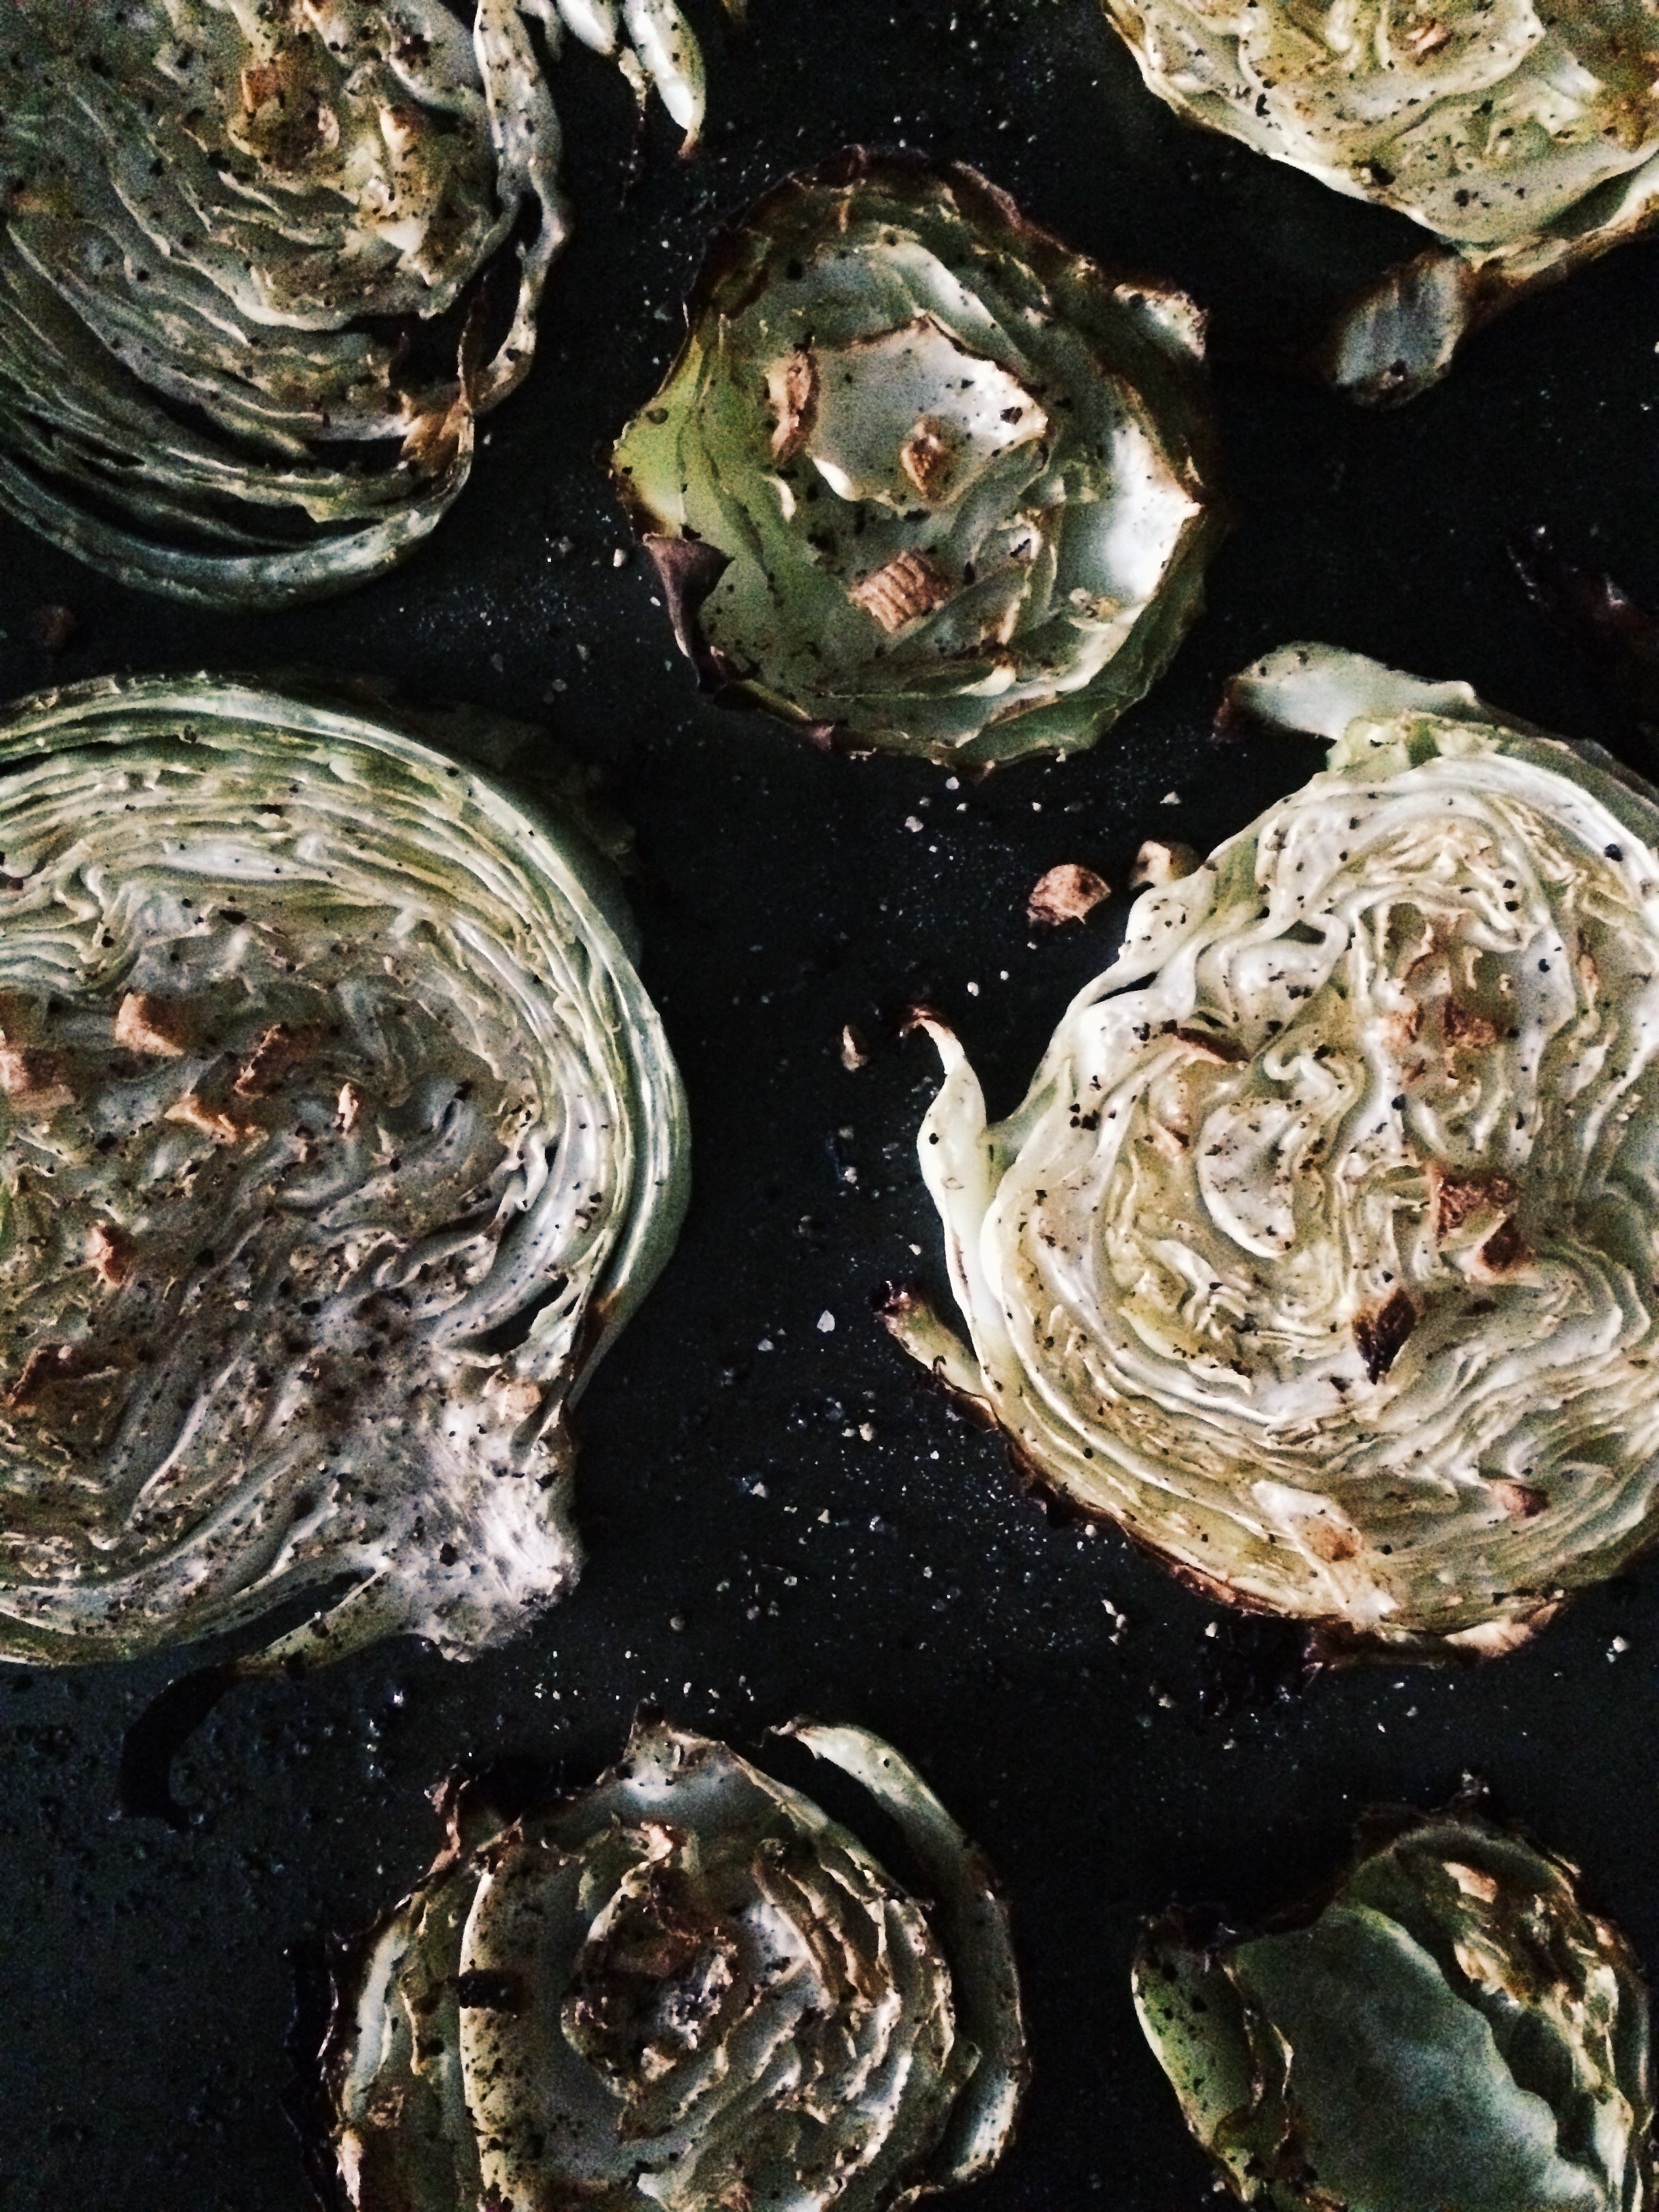
  7. Bake for 40 minutes, until crisped at the top and tender through the center.
  8. Pull it out of the oven, drop next to some other side-dish yummies, and enjoy!

+ have you tried roasted cabbage this way? how about other veggies? what's your fave? comment below or on Facebook!

want support around yummy recipes, a more plant-based diet, and a lifelong glow?

sign up for your free health consultation today!


Health & Wellness Thursdays || All About Gluten-Free Baking ||11.20.14

For those of you inviting guests over for the holidays that may have Celiac's Disease or be gluten intolerant or just not into eating gluten, here is a run-down of really really really helpful gluten-free baking basics.

|| The Low-Down on Ingredients ||

there's no need to be intimidated, just take it one step at a time -- contact me if you have any questions or need tips (I've been gluten-free for three years now and am on my way to being a Certified Holistic Health Coach)

  • Xantham Gum

    • Acts as a replacement for the gluten in gluten-free flour
    • Provides structure by interacting with the gluten-free flour, giving it that 'lift & puff'
  • Gluten Free Flour

    • Tends to be a combination of a bunch of different flours (and also some starches)
      • Typically there is combination of rice flours, maybe bean flours, possibly some whole grains such as millet or amaranth, and starches such as potato or tapioca starch
    • In this video, her favorite is Bob's Red Mill
      • Bob's Red Mill has a great mix that was recently recreated to have less of a 'bean' flavor in the raw dough stage -- because we all know we eat cookie dough by the spoonful before baking : - )
  • Flax Seed Meal

    • Ground up flax seed
    • Replaces that 'viscous, gooey, binding' texture that eggs provide
    • Also has a delicious flavor -- slightly nutty, a little sweet
  • Kuzu Powder

    • Great replacement for gelatin
      • Put the powder in a little water until it breaks down
      • Add to whatever you want to stiffen or thicken -- so easy
  • Soy Flour

    • Ground up soybeans
    • Helps achieve a creamy texture for creations like vegan butter-cream (!)
  • Coconut Oil

    • No butter in vegan dishes, but looking for a delicious flavor? Best bet.
    • Doesn't taste 'coconutey' just very rich and comforting (plus so good for you!)
    • High burn temperature -- holds up well no matter how you use it
    • Solid in room temperature -- just takes a little heat to melt
  • Nutritional Yeast

    • Adds a cheesy flavor to dishes
    • Delicious and Savory
    • Texture: flaky and light


[Video by The Kitchy Kitchen -- watch more on her YouTube Channel]

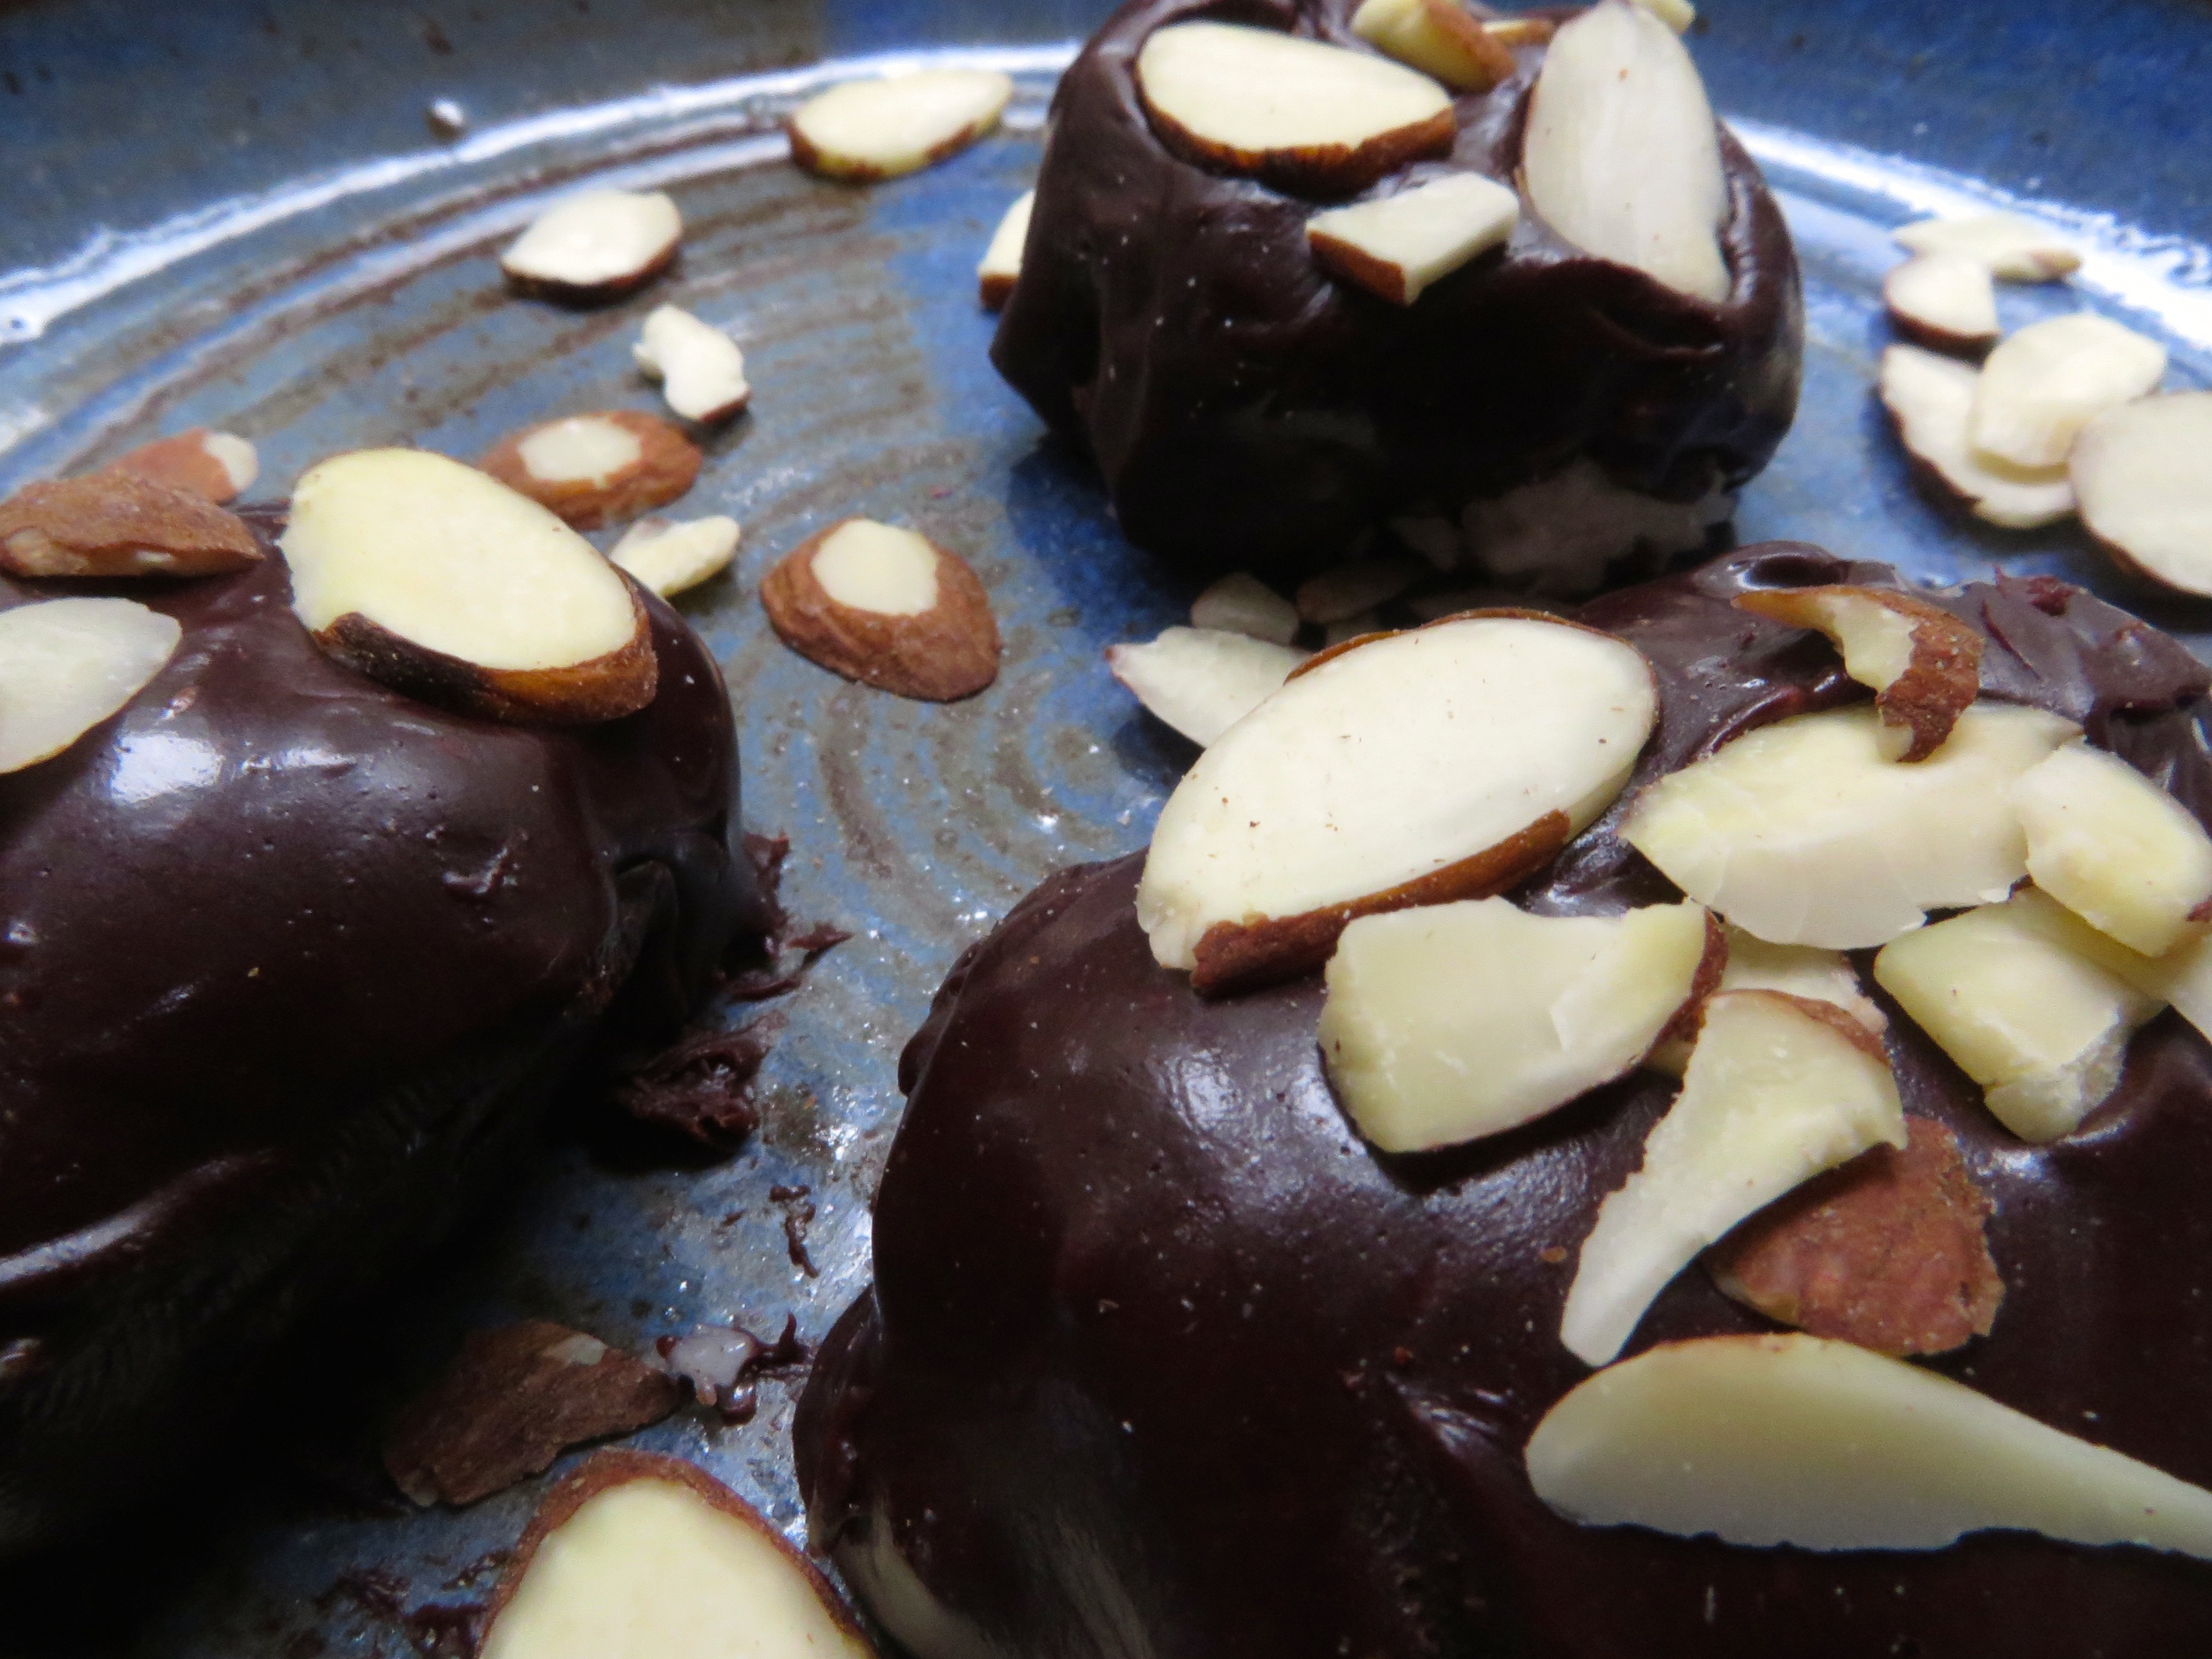
Chocolate Covered Coconut Circles to Rock Your World

IMG_1347
IMG_1347

It’s amaaaaaazing to me how easy and simple and life transforming sweets can be when they don’t contain ingredients that make you want to run for the hills. These treats are easy to make and indulgently glorious for your body.

I mean who doesn’t love coconut & chocolate – sometimes you feel like a nut, sometimes you don’t… great commercial. Anyway… enjoy these little circles of pure joy – maybe add some peppermint to the filling and find yourself biting into a mint patty cloud. I know. Heaven.

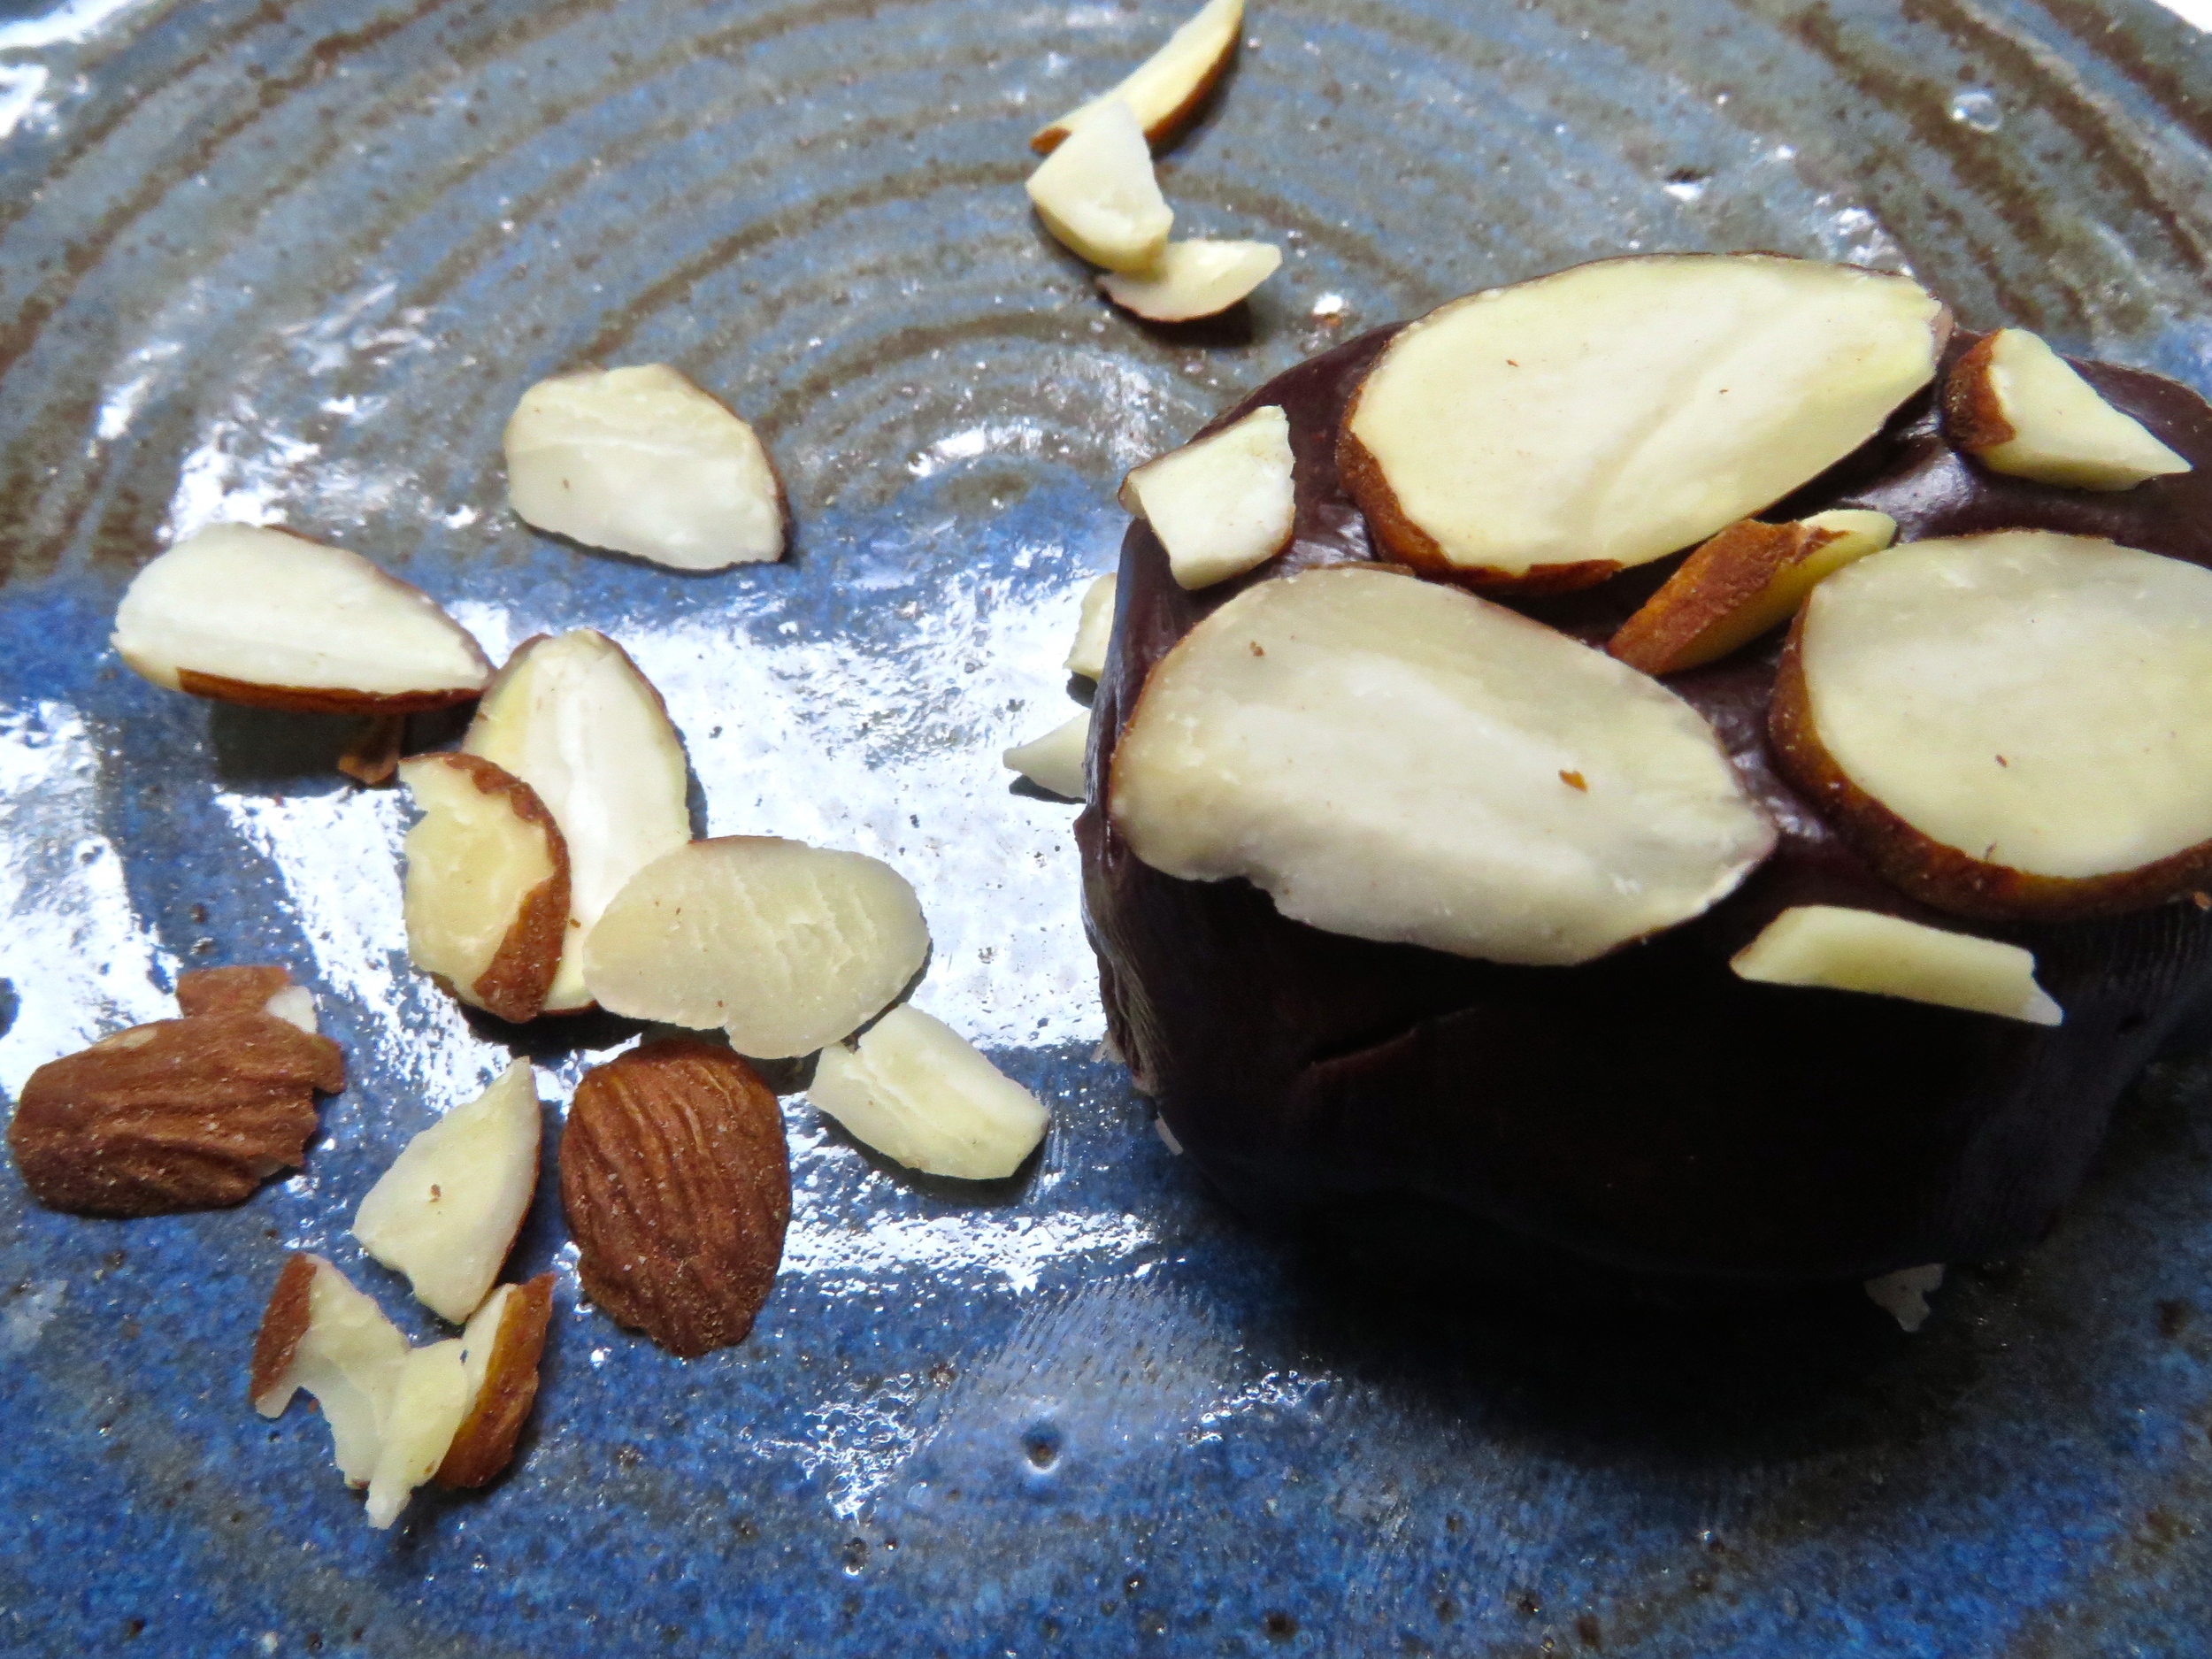
When you eat ingredients that are delicious and magnificently great for you, you begin to look radiant and glowing. Pretty soon someone will ask you on the street, what’s your secret? Oh my secret? Coconut patties covered in chocolate and dotted with almonds…

Coming up this weekend… The Inside Scoop On Coconut

 P.S. this rainy weather I’m having is really messing with my photo shoots… but how could I not share this deliciousness? Make these and if you still aren't assured of their magic... let me know and we'll work on that pronto ; - )

||Chocolate Covered Coconut Circles ||

Makes about 10 small treats – feel free to make larger ; )

Coconut Filling ||

½ cup + 2 tbsp. unsweetened organic coconut, finely shredded 2 tbsp. melted coconut oil 1 tablespoons liquid sweetener – I’ve been experimenting with brown rice syrup, so I used that, but agave, honey, or maple syrup would also work 1 dash cinnamon Might be a delicious option to add peppermint essential oil to the coconut filling for a minty treat!

Chocolate Coating || note: you can also melt a bag of chocolate chips to dip them in… which I would have done but Tuesday night I ate them all. yeah.

1 tbsp. melted coconut oil 1/3 cup cocoa powder -- I didn't have cacao on hand 4 tbsp. brown rice syrup (can use honey, maple syrup, or agave here as well) Additional flavorings could include: cinnamon, maca powder, cayenne, the options are endless!

Recipe ||

For the filling -

  1. Combine all of the ingredients for the coconut filling together in a small bowl.
  2. Grab a small cookie sheet with some parchment paper– I have a small living space and even smaller refrigerator so I used a container lid
  3. Start to form the coconut into about 10 small paddies – mine were about the size of quarters (don’t worry if they don’t stick together well – this is due to the melty coconut oil – just clump them together on the paper and press down using the back of a spoon or lid)
  4. Place them in the freezer to harden – about 30 minutes

For the chocolate -

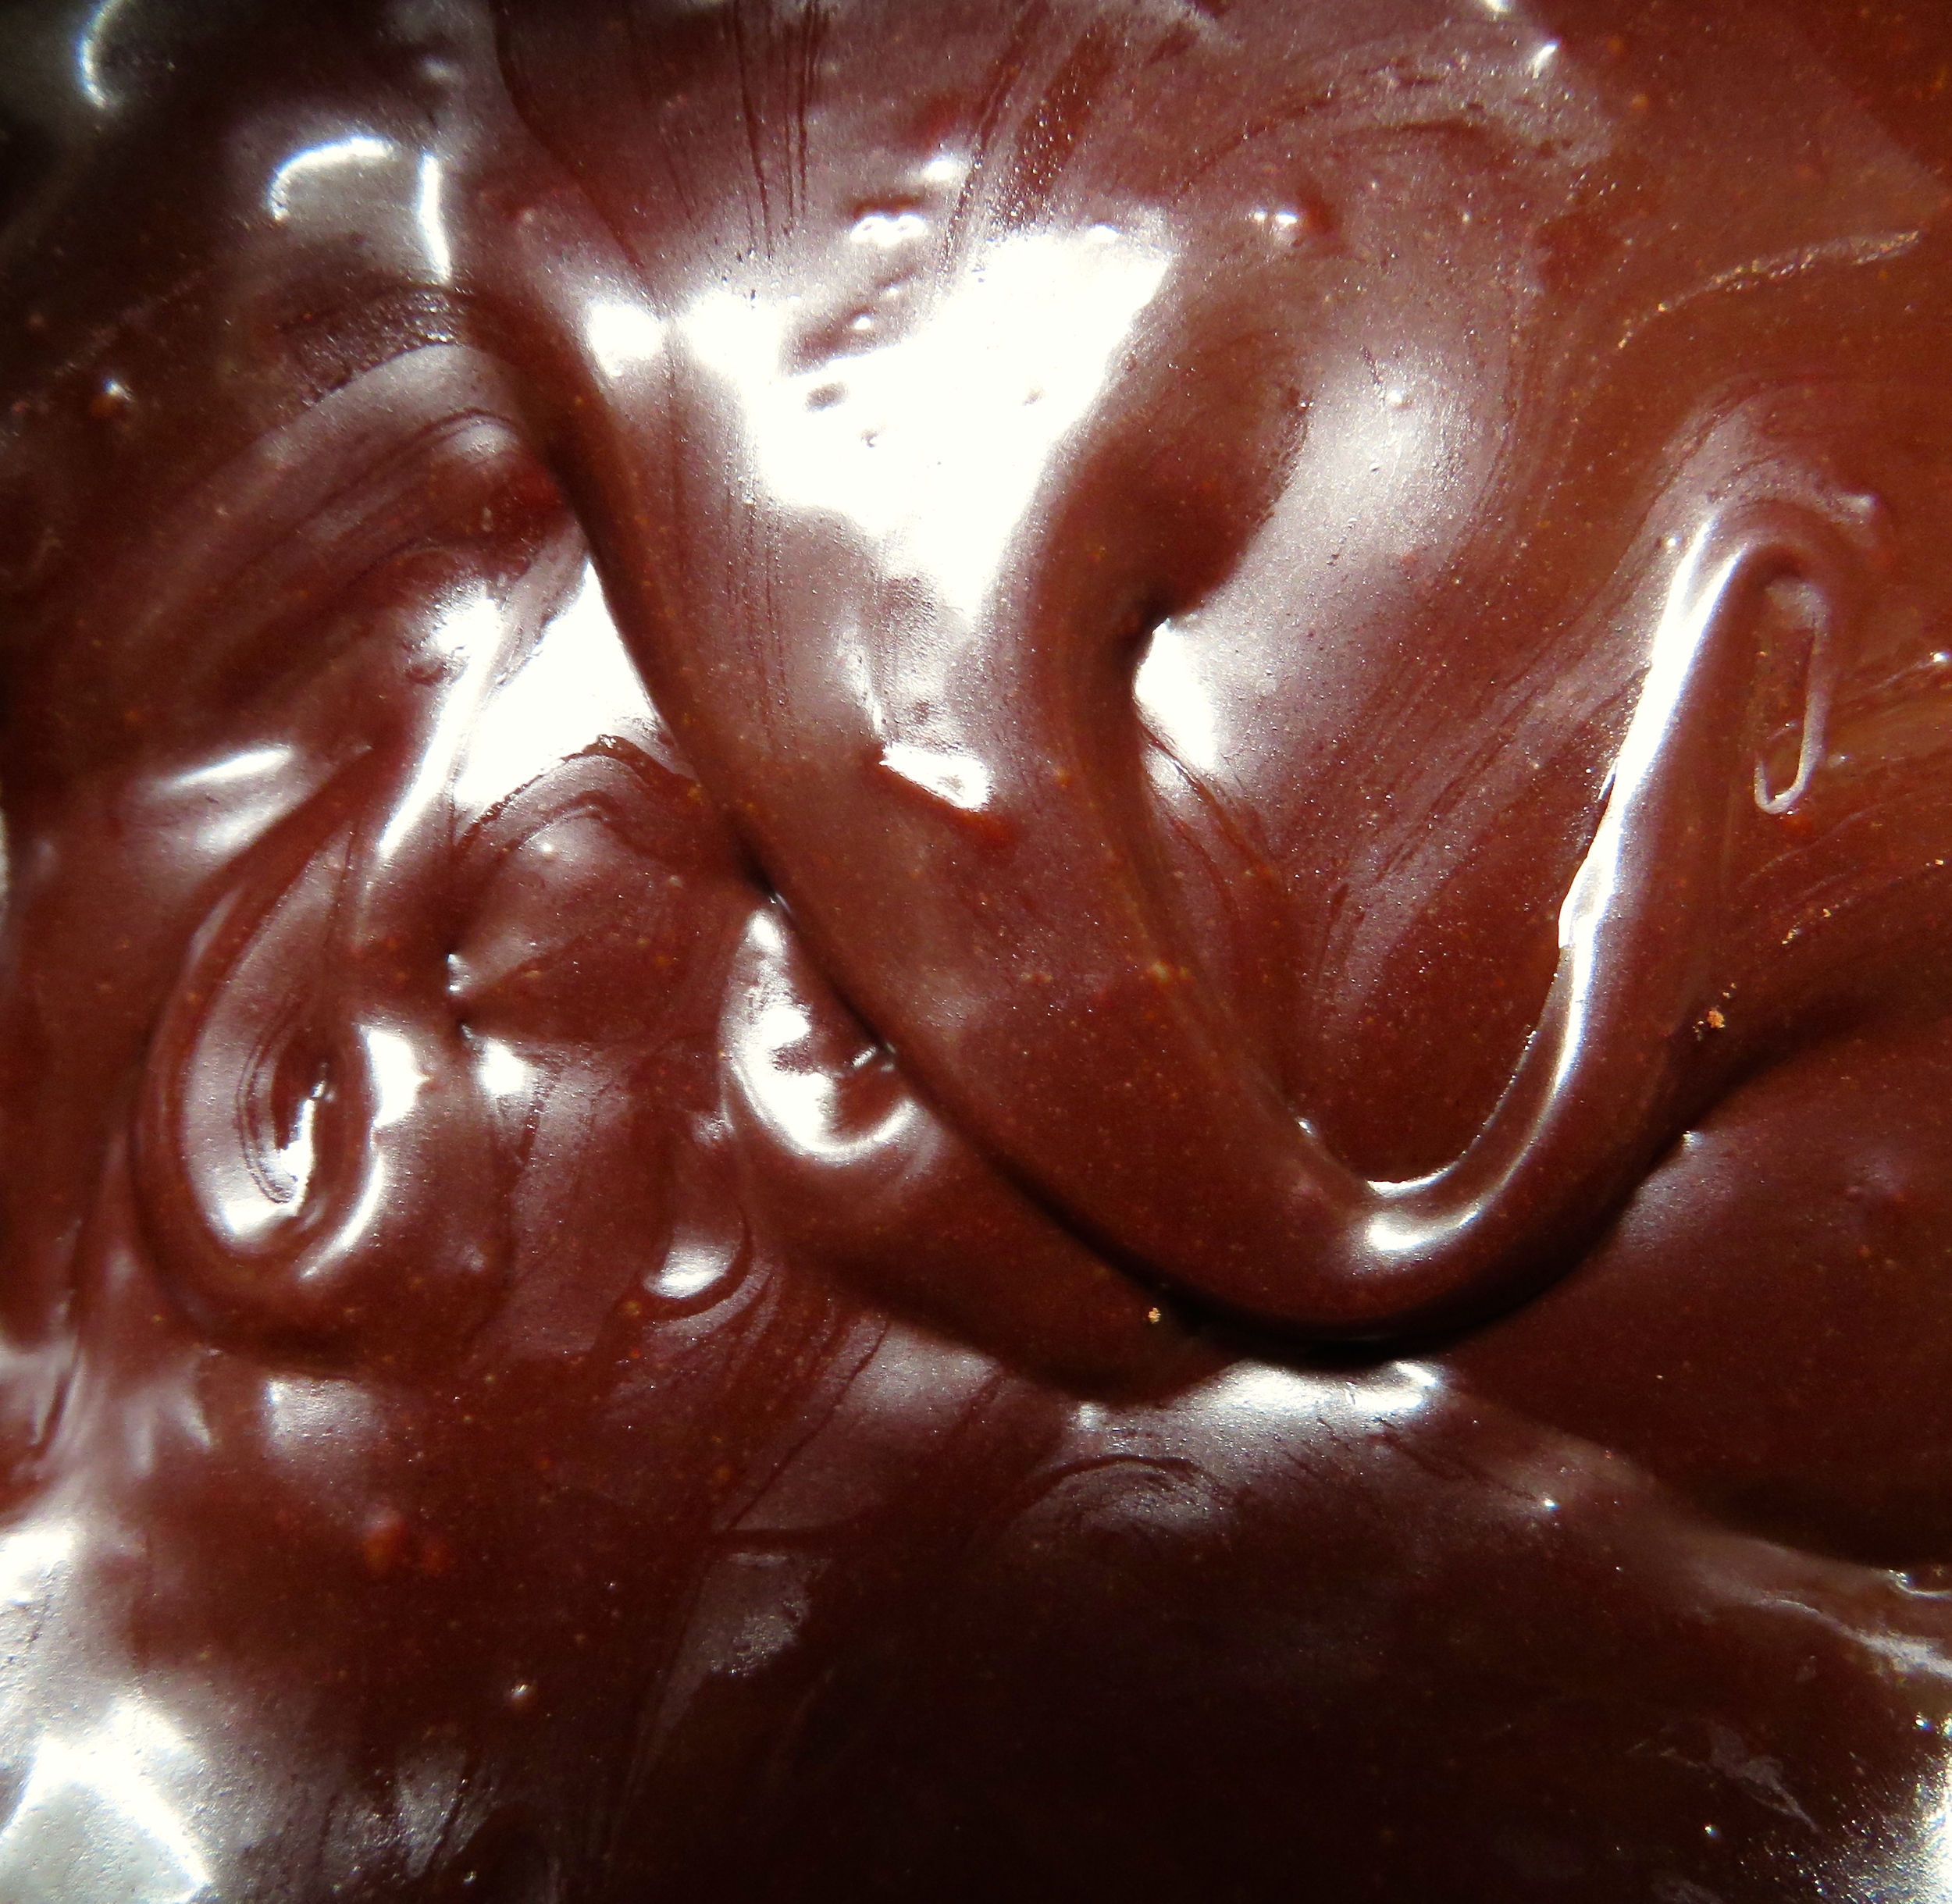
  1. Combine all of the ingredients for the chocolate coating together until smooth or melt your chocolate chips

For the final result -

  1. After the patties have set, pull them out of the refrigerator and dip carefully in the chocolate mixture – using your fingers if eating these by yourself or a fork if you plan on sharing. Warning: this is a messy process – more chocolate got on my fingers then the coconut, which was really okay because I ate it all …
  2. Feel free to add sliced almonds to the top or more shredded coconut
  3. Place them back in the freezer or refrigerator to set or do what I did and not wait and just eat them as a chocolaty, blissful mess

Enjoy, loves! xxoo

Inspired by Free People: Almond Coconut Chocolate Bites + Emily Von Euw: Chocolate Covered Mint Patties

[pictures by yours truly, slightly off lighting courtesy of a rainy day – what is it they say about the best laid intentions…]